How to Upload a Zip File to Eclipse
In the concluding tutorial, we went through the concepts of Residue-assured in theory. To start our practical journey, nosotros demand to write code that tin send and receive the data with a lot more than interesting twists in betwixt. However, the medium that will aid united states of america in our API testing is an integrated evolution environment (IDE). In our case, nosotros will be using the popular Eclipse IDE and in this postal service, we will set up information technology for our coding exercises. In other words, we will configure eclipse with residue-assured for API testing. The index looks as follows:
- What are the prerequisites to configure Eclipse with Rest Assured?
- How to download residue-assured jars in Eclipse?
- Creating a project in Eclipse for rest assured.
- How to setup rest-assured jars in the form path?
What are the prerequisites to configure Eclipse with Rest Assured?
The starting time footstep towards setting up the development environment and so that nosotros can test some RESTful APIs is to evaluate the prerequisites. The following listing highlights the required software for setting up Eclipse with rest-assured. Before proceeding, please make certain they are installed on your system.
- Latest Coffee version.
- Working Eclipse IDE.
- TestNG setup.
If any of the above is not present on the organization, then we accept to follow the links given below :
- Set up Java
- Setting upwardly Eclipse
- Gear up TestNg
Once the prerequisites are upwardly and running we tin keep with the balance assured fix on Eclipse.
How to download residuum-assured jars in Eclipse?
The residue assured jar files can be downloaded from the following link.
https://github.com/rest-assured/balance-assured/wiki/Downloads.
When we navigate to this folio, we can see the section " Current directly downloads ". Go to this section and click on the link to the dist packet .
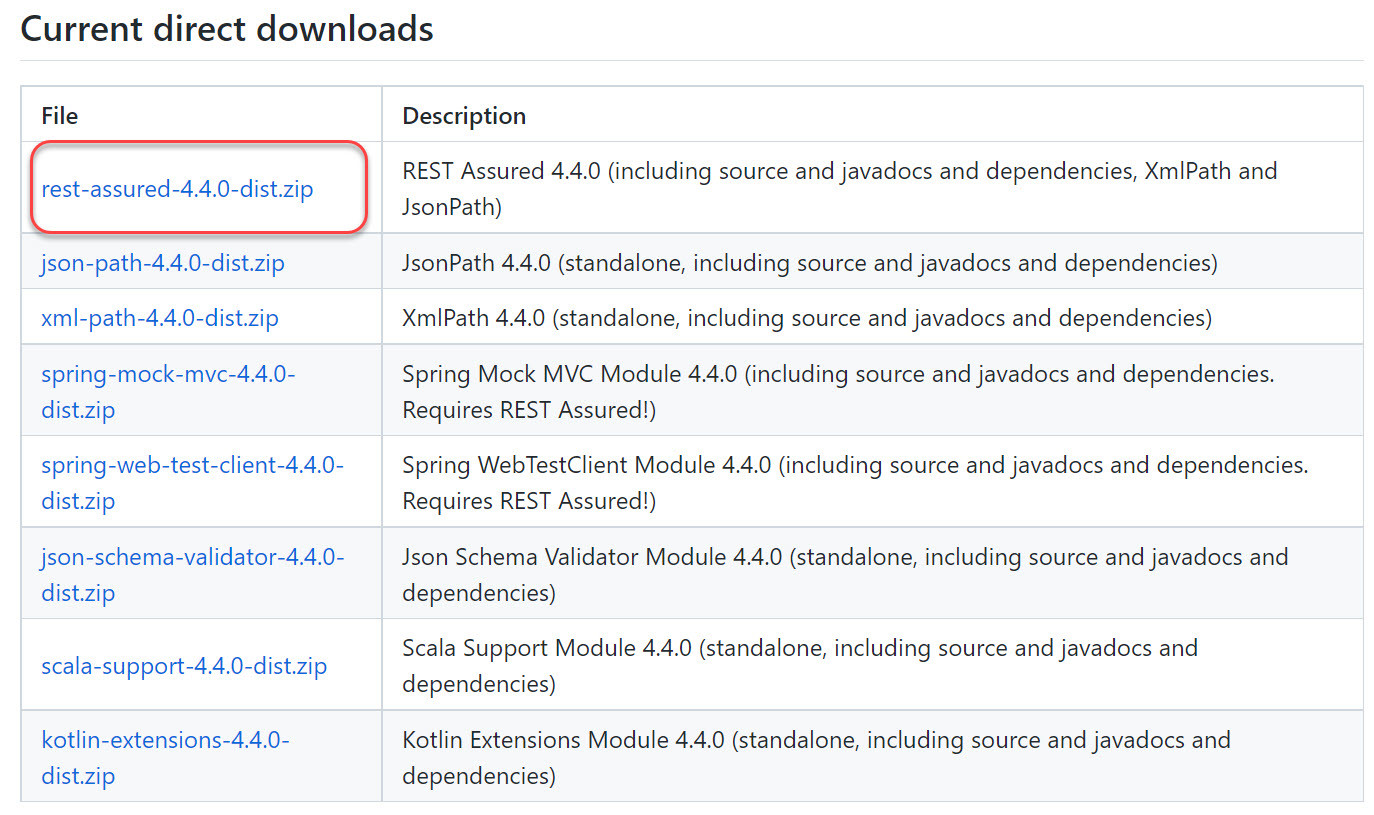
Notation: At the fourth dimension of this writing Version iv.4.0 is available for download.
Once the link is clicked, the browser will download the residuum-bodacious-4.4.0-dist.zip file on the system (by and large in the "downloads" folder for Windows Bone). Navigate to the folder where the cypher file was downloaded and merely unzip the files.
At present go to the folder where the files were but unzipped and open information technology. The contents should exist the post-obit in this folder.
- docs: A folder containing javadocs.
- balance-assured-3.0.3.jar: jar file that contains residue-sssured classes.
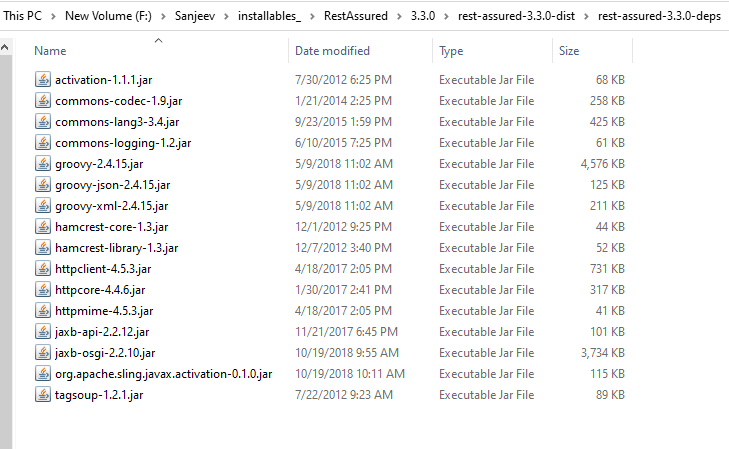
- balance-assured-3.0.3-deps.zip: Another aught file containing all the dependency jars.
Notation: Nosotros take to also unzip the rest-assured-4.4.0-deps.goose egg dependency jars. In the end, your folder would look like this.
Now that we accept rest assured jars package set up, we can go ahead and create a project in Eclipse that will utilize rest assured.
Creating a project in Eclipse for rest assured
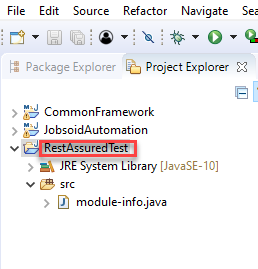
To add and use unzipped rest bodacious jars in an bodily project, we accept to first create a new project in Eclipse. So nosotros create a project, permit'south say, RestAssuredTest equally shown beneath.
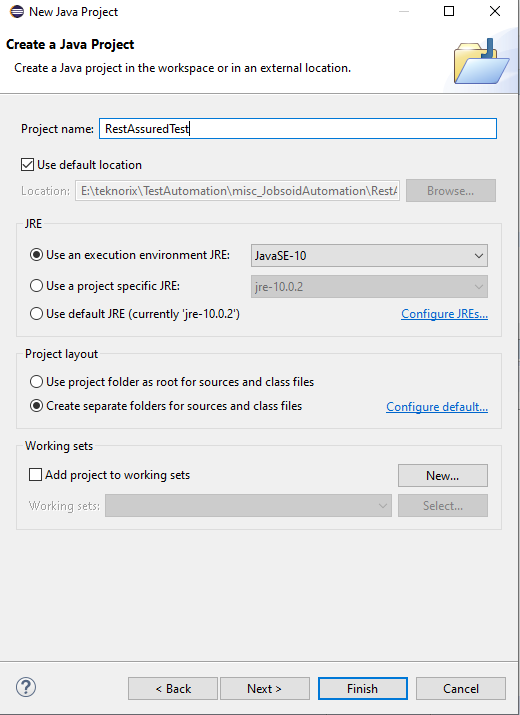
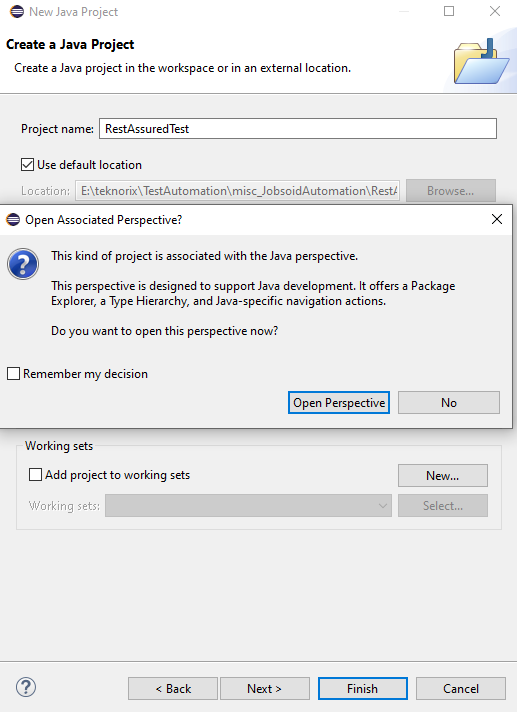
Once clicked on the Java Project link, a new project window opens up. Enter the name of the project as RestAussuredTest and click on the Finish button. Once Cease is clicked, we get the following screen. Click Open Perspective. (Alternatively, if we have already checked the pick "call up my decision", then this step will non exist seen)
Now the projection with the name RestAssuredTest should display in the package explorer.
In one case the project is created in Eclipse, at present it is required to add the unzipped jars in the classpath of the Eclipse projection.
How to setup rest-assured jars in the class path?
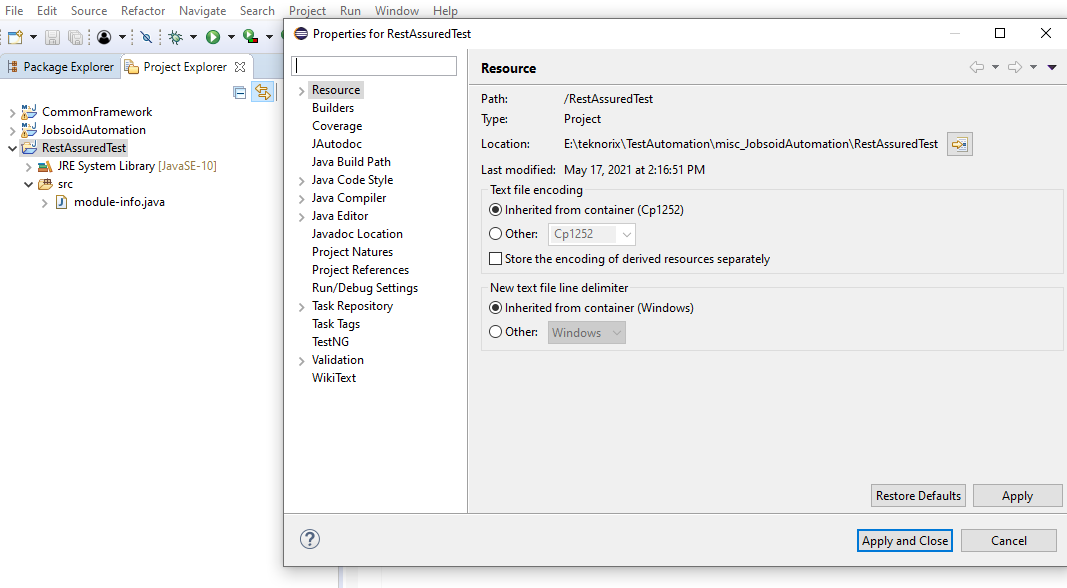
Select the Java project folder nosotros just created and right-click on the project folder in the package explorer pane and choose Backdrop . This will open the projection properties popular-up window every bit shown below.
Select Java build path pick in the left pane of the properties window. In the Java build path pane, on the left-hand side, you will come across the Libraries pane.
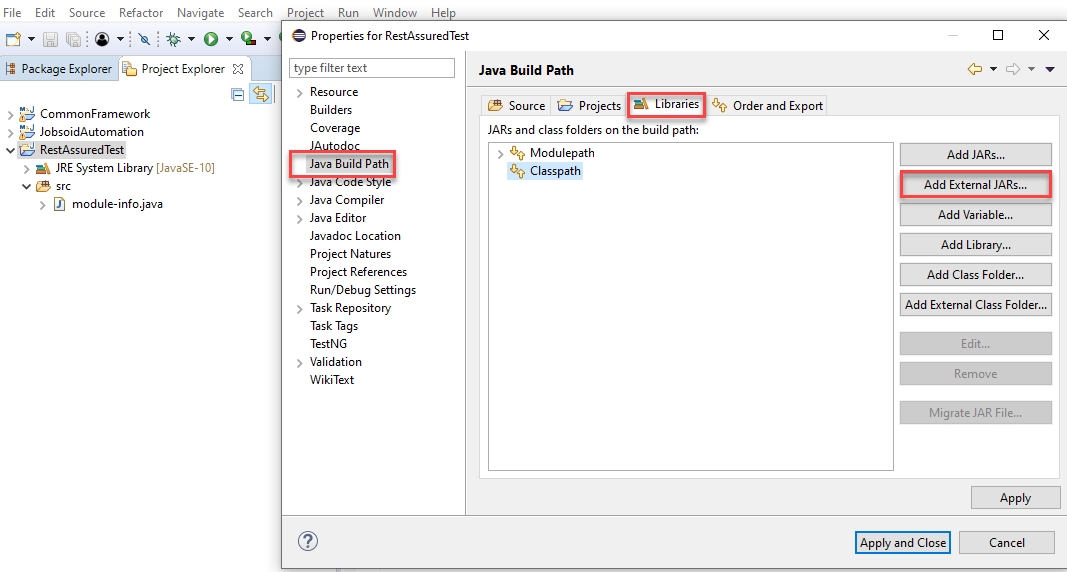
Here we are going to reference the rest bodacious jar files that we downloaded earlier. To reference the jars, click on the " Add together external jars " push and navigate to the folder where we unzipped all our rest-assured jars. Refer to the paradigm shown below.

Now include the following Jars
- rest-assured-iii.3.0.jar
- All the jars in the folder rest-bodacious-3.3.0-deps
With this, we take successfully set up a Java projection in Eclipse with a rest-bodacious library. If nosotros now bank check the project explorer, nosotros will get the following view.
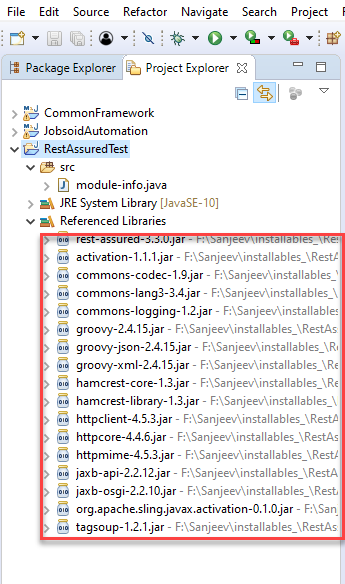
Now we are set up to utilize Balance Assured features in Eclipse.
Key TakeAways
In this commodity, we configured the Eclipse project with Balance Assured Library.
- Rest Assured library comes in the form of jars which we can download freely from GitHub and unzip on our local auto.
- The prerequisites for using Rest Bodacious jars are we should have Java, Eclipse, and TestNG properly configured and running on the automobile.
- We can then create a Coffee project in Eclipse and associate the Rest Assured jars with it by specifying the jar path in the Build path.
With these steps, we can configure Rest Assured with the Eclipse projection. In the next article, we will create a elementary REST API with the Rest Assured library.
Source: https://toolsqa.com/rest-assured/configure-rest-assured-with-eclipse/
0 Response to "How to Upload a Zip File to Eclipse"
Post a Comment